You must, must, must use a pressure canner if you plan on canning meat– no exceptions. Since meat is a low-acid food, a regular boiling-water canner will not be able to heat it at a high enough temp to make it safe for storage. I know pressure canners may seem intimidating at first, but they are actually simpler than you think.
Trim the meat to remove excess fat and gristle. Slice into strips against the grain, and then cut into roughly 1” cubes (just eyeball it-- no need to be exact).
Place the cubes into a large stockpot and brown thoroughly on all sides. If your meat is especially lean, you may need to add a bit of fat (such as bacon grease, lard, or coconut oil) to the pan to prevent stickage. The goal here is to simply brown the cubes, you don’t need to cook them all the way through.
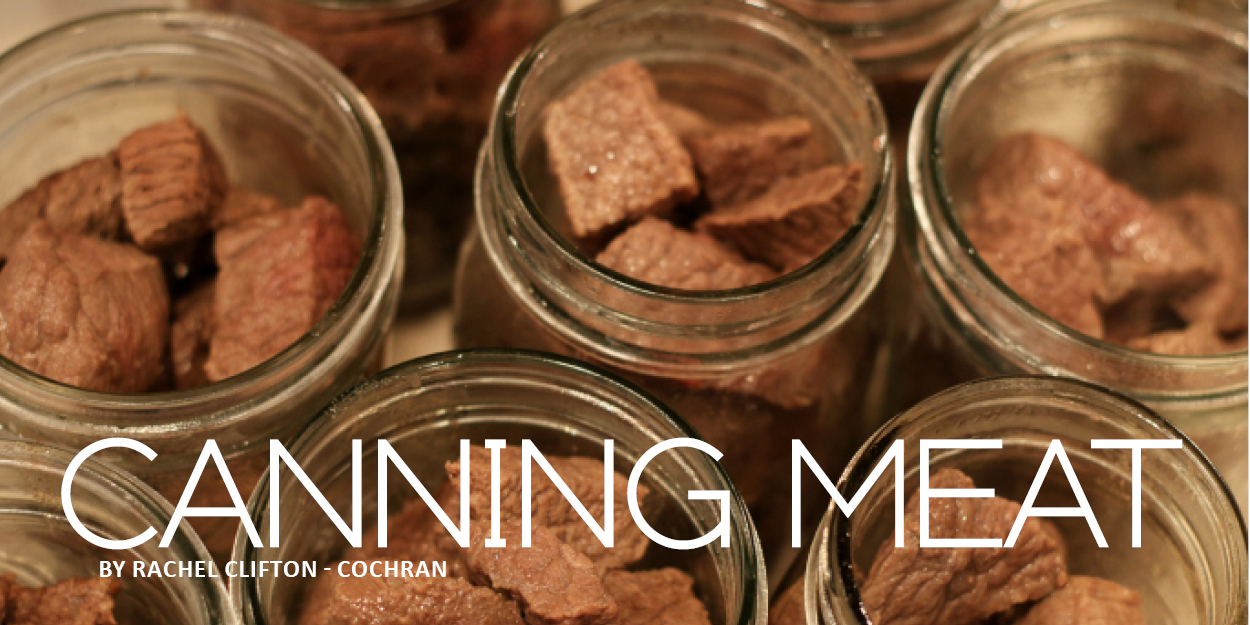
Place the browned meat cubes into clean glass jars, leaving 1” headspace. If using quart jars, add 1 teaspoon of salt. If using pint jars, add ½ teaspoon of salt.
Pour water (how much you need will depend on how many jars you are canning) into the pot you used to brown the meat, and bring it to a boil. This will capture all the lovely bits from the bottom of the pot and create extra flavor in your finished product.
Ladle the boiling water over the meat in the jars, leaving 1” headspace. Wipe the rims, adjust the lids/rings, and process in a steam pressure canner as follows:
Pints: 75 minutes
Quarts: 90 minutes
Use 10 pounds of pressure, UNLESS you are 1,000 feet or more above sea level. If that is the case, increase to 15 pounds of pressure.